CC-Switch — All-in-One AI Tool Manager
CC-Switch is the recommended way to configure Claude Code, Codex CLI, Gemini CLI, OpenCode, and OpenClaw with BytePass. It's a cross-platform desktop app that handles API URLs, keys, and environment variables automatically — no manual editing needed.
| Manual setup | CC-Switch | |
|---|---|---|
| First-time setup | 5–10 minutes | Under 2 minutes |
| Switch between providers | Edit files manually | One click |
| URL format mistakes | Common pitfall | Handled automatically |
| Env variable conflicts | Hard to debug | Auto-detected |
| Multi-config switching | Manual file edits | One click or system tray |
Install CC-Switch
CC-Switch is a desktop app built with Tauri 2. Official website: ccswitch.io
macOS (Homebrew — recommended)
brew install --cask cc-switchUpdate:
brew upgrade --cask cc-switchOr download the .dmg from GitHub Releases.
CC-Switch for macOS is code-signed and notarized by Apple — install and open directly.
Windows
Download CC-Switch-v{version}-Windows.msi from GitHub Releases and run the installer.
A portable version (CC-Switch-v{version}-Windows-Portable.zip) is also available.
Linux
Debian/Ubuntu:
sudo dpkg -i CC-Switch-v{version}-Linux-x86_64.debArch Linux:
paru -S cc-switch-binAppImage (all distros):
chmod +x CC-Switch-v{version}-Linux-x86_64.AppImage
./CC-Switch-v{version}-Linux-x86_64.AppImageDownload all packages from GitHub Releases.
The fastest way: Import from BytePass dashboard
BytePass has built-in one-click import. No need to manually copy-paste keys or URLs:
- Install CC-Switch and open it
- Go to bytepass.ai/keys in your browser
- Click the "Import to CCS" button next to your API key
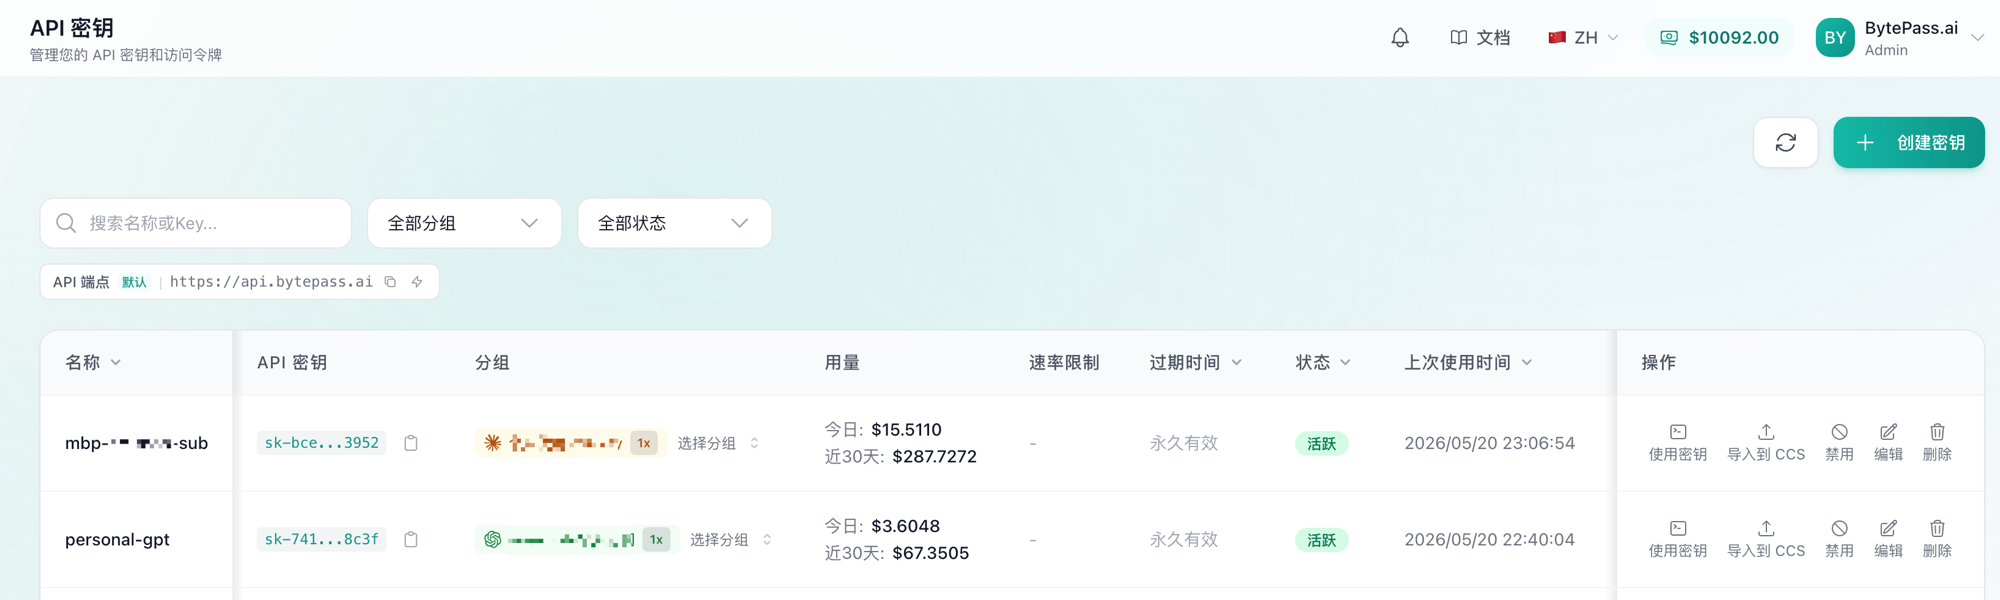
CC-Switch will open automatically with the correct API URL and key pre-filled. Click "Save" and you're done.
This uses CC-Switch's Deep Link feature (ccswitch://) to pass configuration securely.
Manual setup
If you prefer to add the config manually:
1. Get your API key
Go to the BytePass dashboard and copy your API key (format: sk-...).
Don't have a key yet? See the Quick Start guide.
2. Add a new provider
Open CC-Switch and click "Add Provider". Fill in:
| Field | Value |
|---|---|
| Provider name | BytePass (or any name you like) |
| API Base URL | https://api.bytepass.ai |
| API Key | Your sk-... key |
3. Click "Enable"
CC-Switch will write the config to the corresponding tool's config files. For Claude Code, changes take effect immediately (hot-switching). For other tools, restart your terminal.
4. Verify
claudeType a message. If you get a response, you're all set.
Switching between providers
CC-Switch makes switching instant:
- Main UI: Select a provider → Click "Enable"
- System tray: Click the provider name directly — takes effect immediately
For Claude Code, you don't even need to restart the terminal. Other tools need a terminal restart.
Key features
| Feature | Description |
|---|---|
| 5 CLI tools | Claude Code, Codex, Gemini CLI, OpenCode, OpenClaw — all in one app |
| 50+ provider presets | Built-in presets for popular API providers — pick and go |
| System tray quick switch | Switch providers from the tray menu without opening the app |
| Unified MCP & Skills | Manage MCP servers and Skills across all tools in one panel |
| Local proxy & failover | Auto-failover, circuit breaker, provider health monitoring |
| Usage dashboard | Track spending, requests, and tokens with trend charts |
| Session manager | Browse, search, and restore conversation history across tools |
| Cloud sync | Sync config via Dropbox, OneDrive, iCloud, or WebDAV |
| Config backup | Export all configs, auto-rotated backups |
Troubleshooting
Config not taking effect after switching?
- Claude Code: Should work immediately (hot-switching). If not, restart your terminal
- Other tools: Always restart the terminal after switching
Want to switch back to official login?
Add an "Official Login" preset in CC-Switch, restart the CLI tool, then follow its login/OAuth flow.
Where is CC-Switch data stored?
- Database:
~/.cc-switch/cc-switch.db - Settings:
~/.cc-switch/settings.json - Backups:
~/.cc-switch/backups/
What's next?
- Claude Code setup — Manual configuration if you prefer not to use CC-Switch
- Codex CLI setup — Configure Codex CLI with BytePass
- Quick Start — Haven't registered yet? Start here